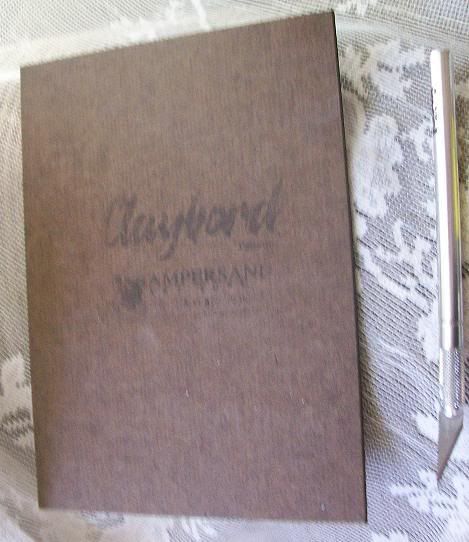
Scratchboard can be done on either a blank white surface that you paint or ink then scratch out your highlights or the way I normally do it is I start with a preinked board. Ampersand makes a great Board for this called scratchbord. It is a sturdy board with a layer of white clay then a layer of ink.


I usually start out with the basic outlines just so I know where everything is going to be Sccratching out the lines with an exacto knife usually very lightly at this stage.

Then I start from Left to right filling in the highlights as I go.


Then I go over it making sure there are no adjustments I need to make and if so I can reink and rescratch.
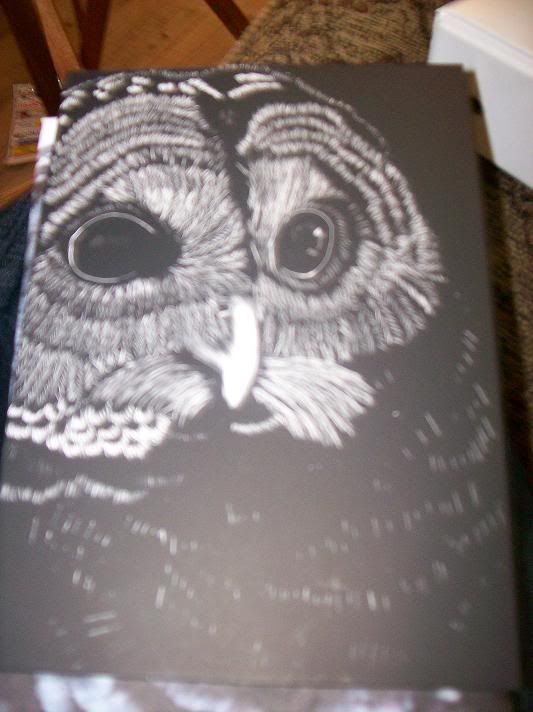
Here is the finished product.

I then spray it with a spray varnish to protect it.

4 comments:
Great Blog Darlene, I enjoyed it very much! I have never done any of the scratchboard, I do want to try it Thanks! Lisa
Super demo! Thanks for sharing :)
Great post! Good job!
Great post! Good job!
Post a Comment